
This year was no exception.
First let me catch you up on how the garden is growing...
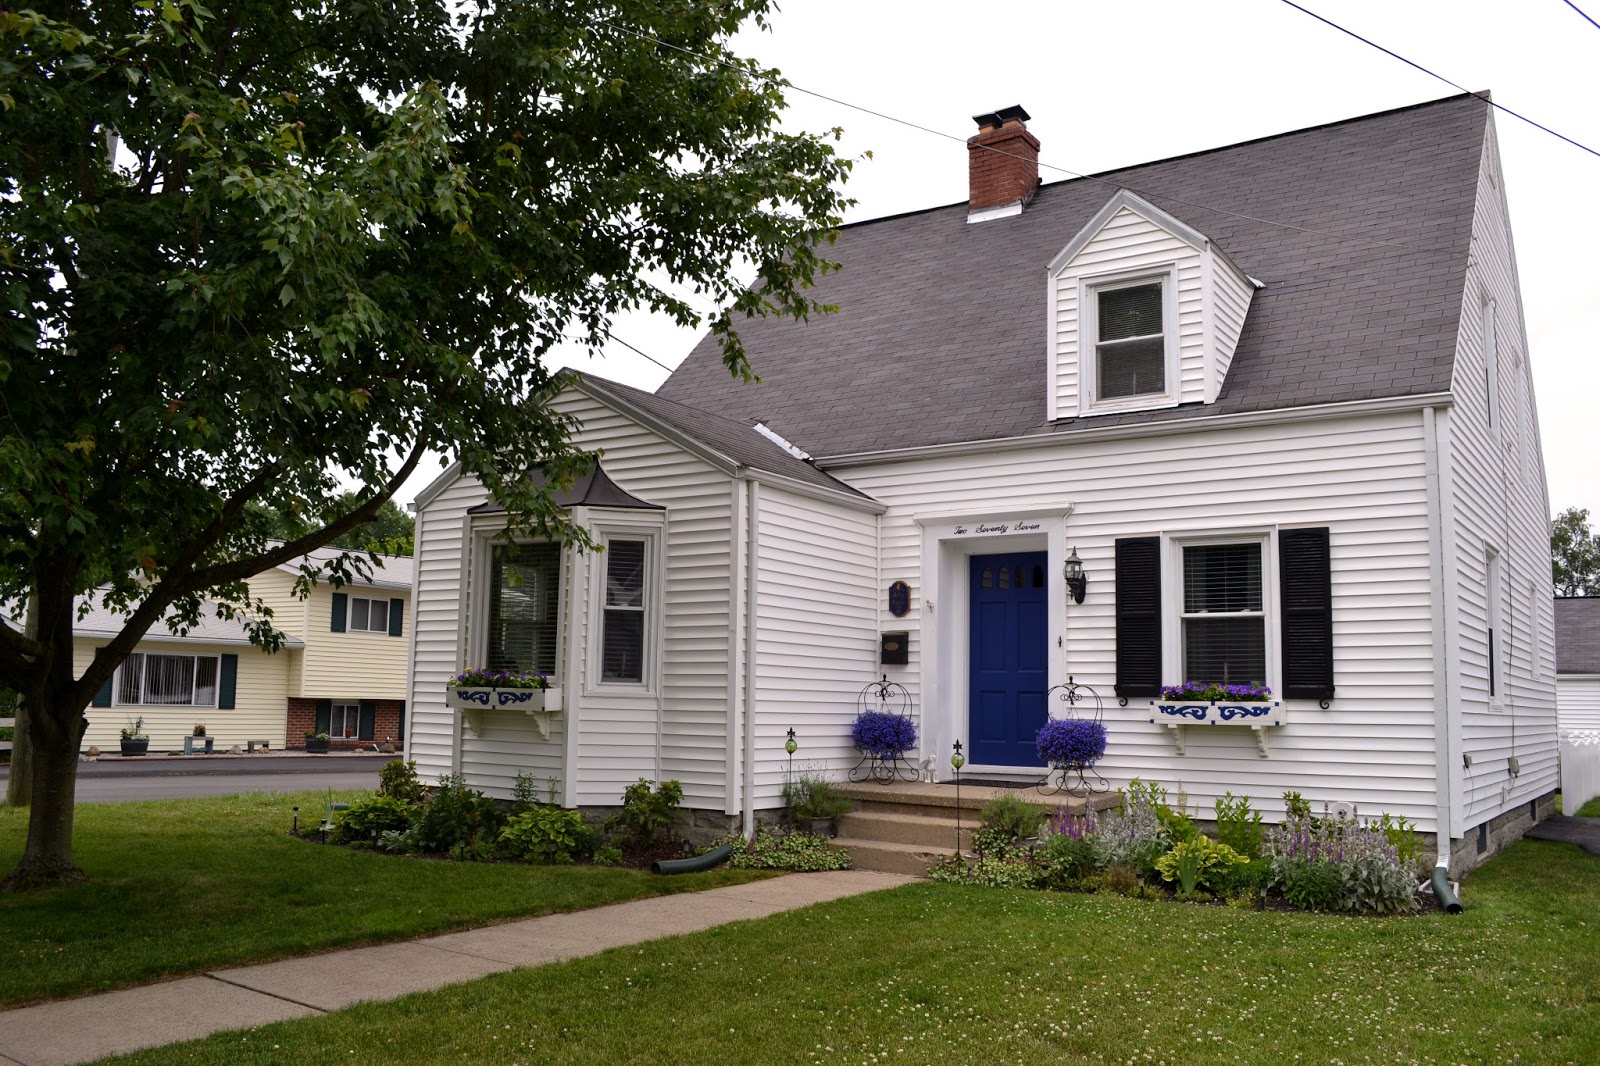
Front garden, right. I can barely see any mulch at this point, and I'm LOVIN it. This is a side view from the front steps...from the front it looks a bit less chaotic and more ordered, but there's still admittedly some chaos which frankly I love (oh hai, cottage garden!)

Are we all remembering when I planted my Petunias in the flower boxes? Yep, this is the exact same quantity of plants as early spring. Let me just say I think sometimes the classic choices are the best choices...I'll be planting Petunias in these boxes from now on.

The left front flower bed also seems rather happy. It's nice to see the plants digging in.

The left flower box. You can kind of see how this one looked when it was planted this spring in this picture. Its also come a long way since then!

Well, you win some and you lose some. The Hollyhocks are in bloom, but they went through a lot of struggle to get here. Hollyhocks are prone to rust...extremely prone. You're never supposed to overhead-water them, but you can't exactly stop the rain, can you? I wound up having to de-leaf the bottoms of the Hollyhocks rather drastically, and they still are pretty rusty-leafed. I'm hoping they'll come back next year, but if they do I think I'll have to admit natural solution defeat and buy an anti-fungal spray for early spring preventative maintenance.

I'm still enjoying the blooms though...as you can kind of tell in this picture, they are at just the right height to admire through the first floor windows.
The red runner bean vine is starting to top the arbor. At this rate, it will be even fuller than last year's September shot.

Do me a favor...don't tell the rest of my garden...shh...but my Egyptian Queen Daylilies are probably my favorite plant on the entire property. The first bloom arrived today, a day late for my birthday, but then Queens are allowed to make a dramatically late entrance, right?

Now for the huge reveal. Ever since we moved into the house, I've had a project in mind for the back yard. Other than wanting window boxes for the front windows, it's probably the one thing I've repeated ad nauseum the most often. What is it? I wanted my flower bed along the fence line to extend ALL the way down the rest of the fence. As it was, it only was tilled and mulched to about 1/4 the length of the fence when we moved in, and I knew it would be lovely to have flowers all the way down.
Well, I sidled up to my husband about a week ago and crooned "hoooooney? You know what I want for my birthday more than anything???"
Friday and Saturday, Tom spent long, backbreaking hours in the yard HAND-TILLING 24 feet x 4 feet of flower bed for me. With a shovel. Yes, there's such a thing as a tiller, and a neighbor has one, but we both agreed with the fence right there, it was a dangerous proposition to do it by machine.
I've hardly ever felt more loved in my entire life. Or more giddily excited.

Have you ever seen anything more lovely in your entire life? Have you?? Okay, maybe not everyone will be as thrilled as me, but just picture the entire fence line eventually filling in like the original bed at top. Eeee!!!
Of course I went out immediately and used my family birthday money (thanks mom, dad, grandma!!) to buy some new plants. Some I got today at Lowes after I took these pictures, so the bed is filled in a little more. Just remember...Sleep, Creep, Leap. When you first put in a plant, it can look sorrowfully small, but as my other flower beds demonstrate, year three (this is my third summer gardening) is a leap-forward year where things can explode in size. I'm looking forward to seeing this flower bed in its third year!!
So far the plants I've put in the ground include....
A Bonica Rose Bush

Black-eyed Susans

Also not pictured are "Pow-Wow" Coneflower, Purple Bi-color Dianthus, Europa Astilibe, Sedum, Coral Bell, and Christmas Tree Plantain Lily (Hosta), all purchased today!
Joining the new flower bed with the corner flower bed by the Hawthorn tree are oodles of ferns in the corner flower bed that were some of the only things already planted when we moved in (there were maybe five plants in the entire yard?) Tucked back in the corner by the fence line you can see my Hot Lips Pink Turtlehead plant I bought last fall. It seems to be doing ok so far! Hopefully I'll see blooms on it later this year.

In the pot by the back gate this year I planted a hospital row rescue from Lowes, a Zinnia plant. It seems to have recovered quite nicely, and I look forward to seeing it continue to grow throughout the season.

And on the back gate as a final greeting before we leave for work every day is this hanging basket filled with annuals.

But what good is a garden unless you're able to enjoy it? On a fine summer day, here's where you'll find us.

Do zoom in to see Corvin's contented face.
I couldn't have asked for a better midsummer, or a more excellent birthday here at our cozy little cottage.


